
May, 11-2020

BISP is committed to provide BEST learning material to the beginners and advance learners. In the same series, our technical experts have prepared a complete end-to-end installation guide on how to install and implement QlikView. This hands-on guide and document focus on Qlikview installation steps and processes. To know and learn more you can join our professional training program. Qlikview Online training is the key to learning the utilization of data of the business. It is done by using charts, dashboards, and statistical analysis after completion of training, you’ll be able to develop the business strategies, using interactive dashboards, making reports and for do ad-hoc query analysis.
First, you need to know...
What is QlikView?
QlikView is a business discovery platform that enables you to analyze business data and make data discoveries. This help site contains guidance on build QlikView documents and analyzing data, installing, deploying, and administering QlikView.
Getting started with QlikView
How to get started with QlikView. This tells about essential QlikView concepts, how to install QlikView software, after installation of Qlikview you can explore and build your first interactive dashboards, making reports and much more.
Before Installing QlikView Server
Before installing the QlikView Server, you need to consider:
Software and Hardware Requirement
â–º Operating System
Windows XP SP3, Windows Vista, Windows 7, Windows Server 2003, Windows Server 2008, Windows Server 2010
Windows XP Professional x64 SP2, Windows Vista x64, Windows 7 x64, Windows 8 x64, Windows Server 2003 x64 Edition, Windows Server 2008 x64 Edition, Windows Server 2008 R2, Windows Server 2012
â–º Memory
â–º Disk Space
â–º Supported Browser
Download the Installation setup file
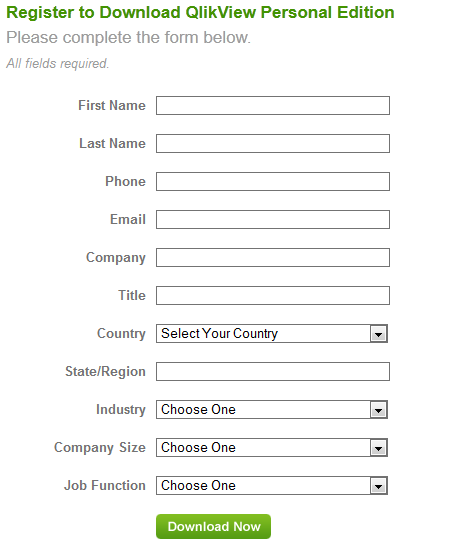
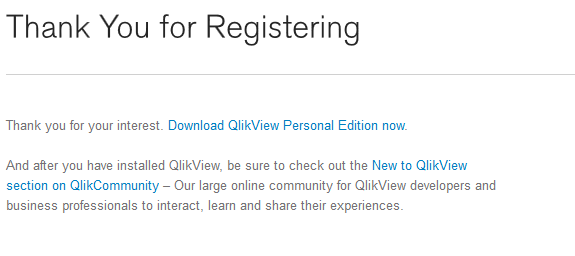
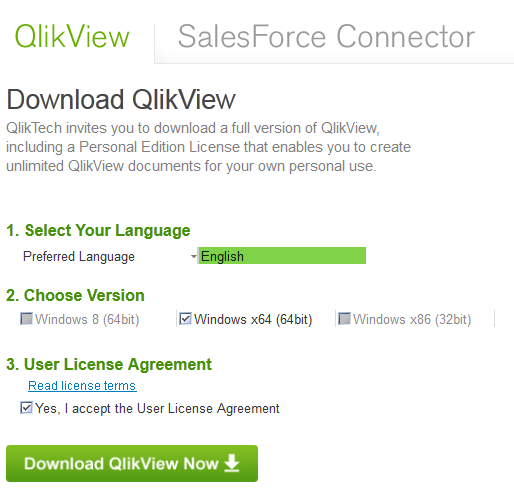
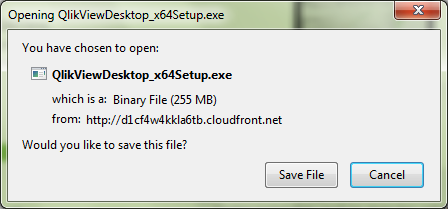
In the next step, provide the path to download the setup file
INSTALLATION
The below are the steps to be followed for the installation of Qlikview 64bit edition
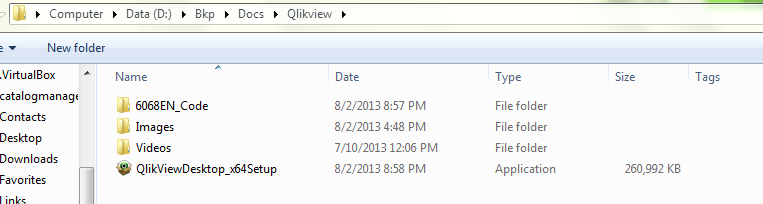
⇒ Launch the setup file “QlikViewDesktop_x64Setup “ and hit the Run button
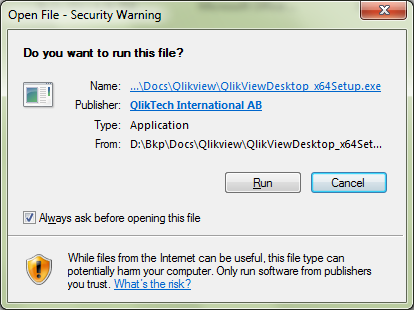
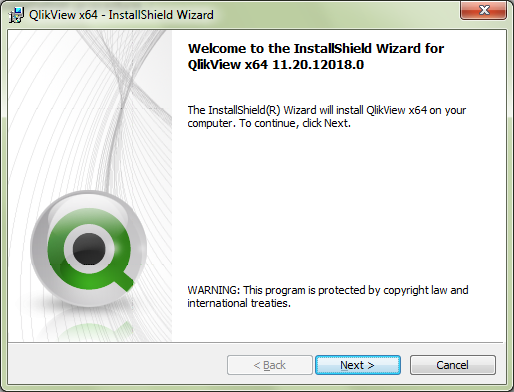
⇒ It is followed by the below screen
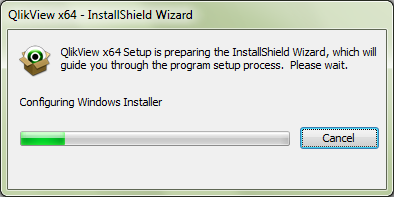
⇒ Hit the Next button in the Installation Wizard screen
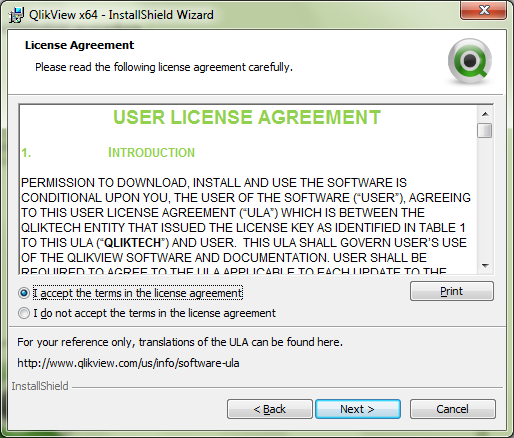
⇒ Read through the License Agreement and check the radio button followed by the Next button
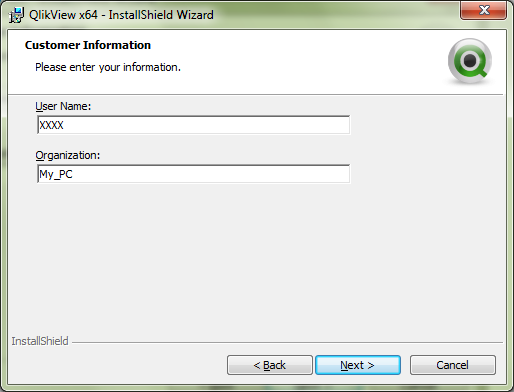
⇒ Enter the required information in the below screen and hit the Next Button
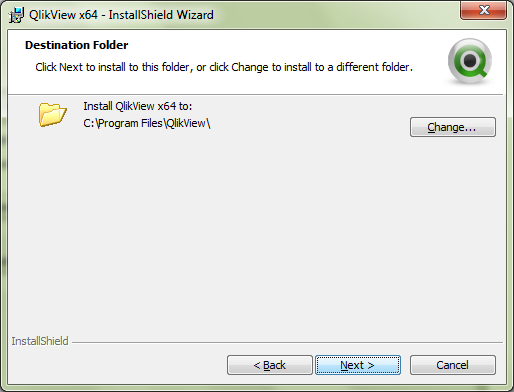
⇒ Choose the installation path and hit Next, by default the path is C:Program FilesQlikview
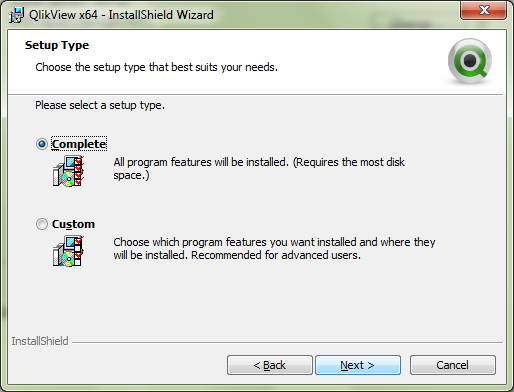
⇒ Select the type of installation below and hit Next, this guide is subjected to Complete installation
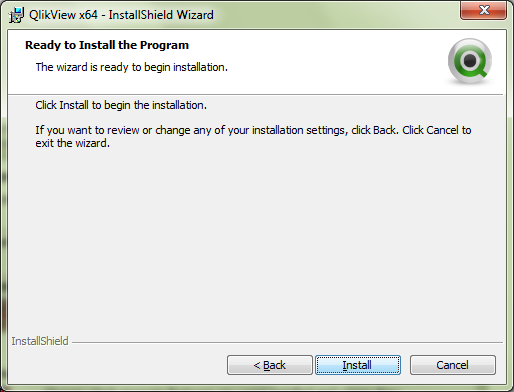
⇒ Hit Install button below to perform the installation
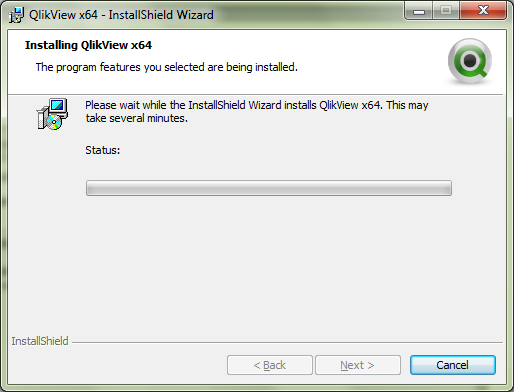
⇒ It is followed by the below screen
⇒ After the installation has been finished, hit the Finish button
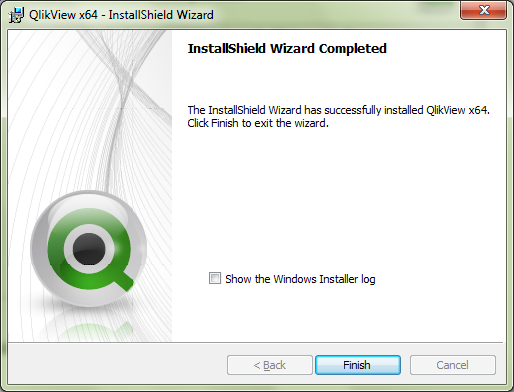
At this stage, the installation of Qlikview has been successfully completed
Accessing Qlikview
Go to Start and navigate to Qlikview through All Programs
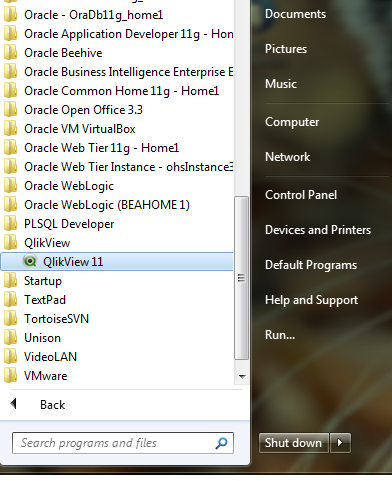
After Qlikview is launched, it is followed by the below screen
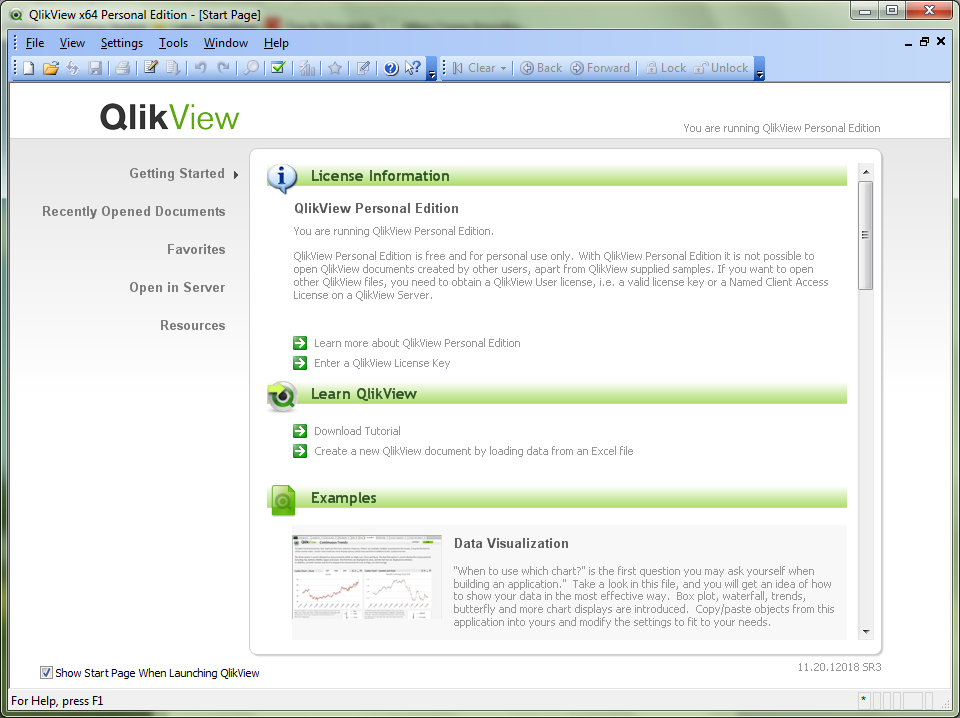
Go ahead and explore QlikView....
Your email address will not be published. Required fields are marked *


1 (2).png)


1.png)

 (1)1.png)
 (1).png)